Japanese Milk Bread
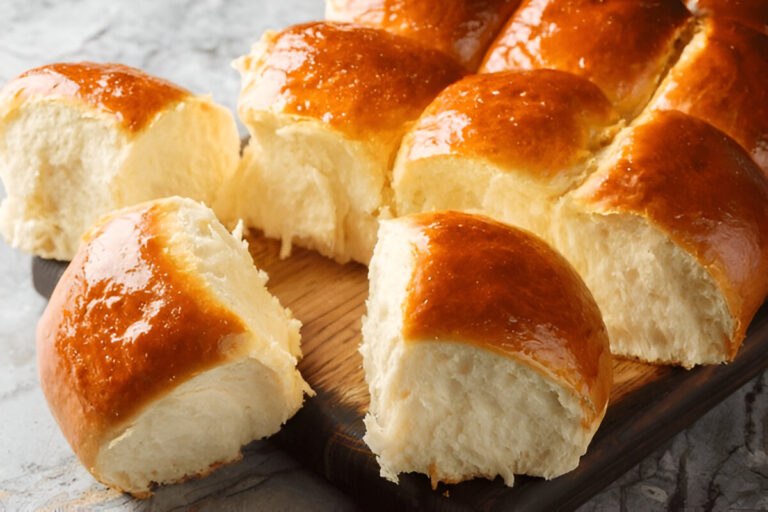
Japanese milk bread is a soft, pillowy loaf with a delicate texture, beloved in bakeries across Asia. Its signature fluffiness comes from the unique tangzhong technique, which ensures a light, airy crumb and tender crust.
This bread, often enjoyed as a snack or breakfast, uses a special starter made from flour, water, and milk. The result is a loaf that’s moist, subtly sweet, and perfect for sandwiches or simply enjoyed with butter.
Making Japanese milk bread requires patience, but the effort is well worth it. With its creamy texture and golden, fluffy interior, this bread is a true treat for anyone who loves a soft, melt-in-your-mouth bite.
Japanese Milk Bread Ingredients
The foundation of Japanese Milk Bread lies in the bread flour, which gives the dough its structure and lightness. The combination of sugar and yeast fuels the bread’s rise, creating a fluffy, tender crumb.
Whole milk and butter contribute to the bread’s rich, velvety texture, imparting a slight sweetness and a soft, melt-in-your-mouth finish. The tangzhong starter, made with flour and milk, ensures the loaf remains soft and moist, giving it a feathery quality.
A touch of salt balances the sweetness, while the egg enriches the dough, helping to create a golden, soft crust that perfectly complements the airy interior.
Recipe Tips
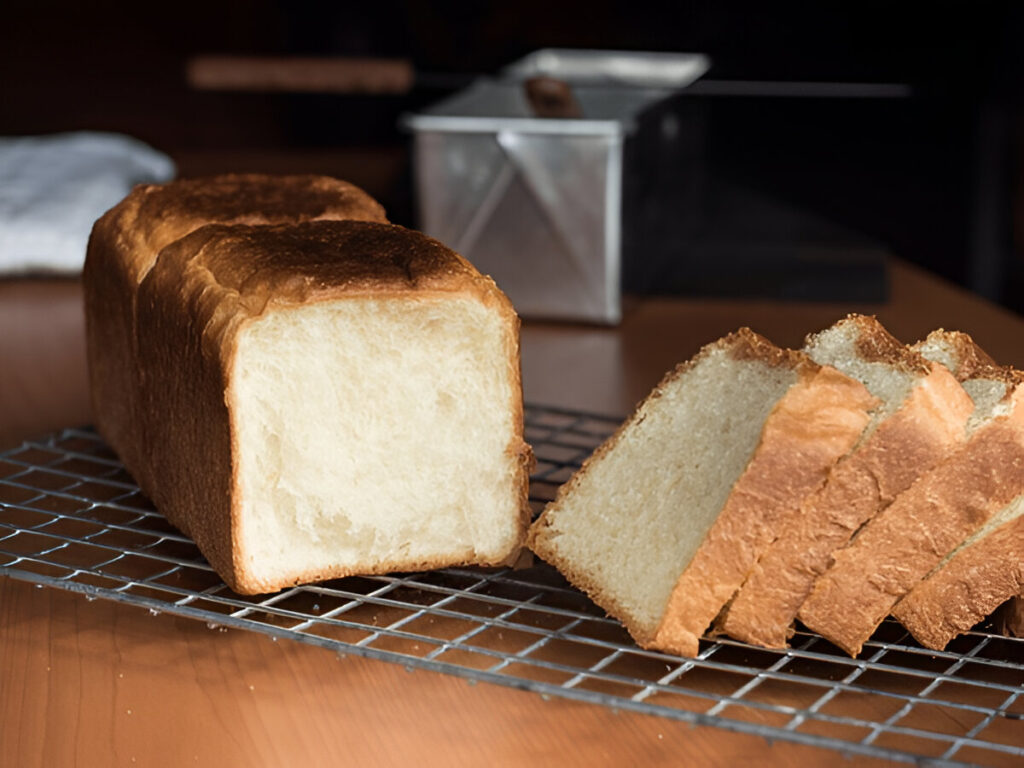
- Master the Tangzhong Starter: The tangzhong starter is crucial to achieving that ultra-soft texture. Make sure to cook it until it thickens but is still pourable. Overcooking will turn it into a paste, making it harder to incorporate into the dough. Let it cool completely before adding it to the dough to ensure it mixes smoothly.
- Knead the Dough Thoroughly: Kneading the dough is key to developing its structure. If you’re using a stand mixer, ensure the dough is smooth and slightly tacky but not overly sticky. If kneading by hand, expect to spend a bit more time getting the dough to the right consistency. The dough should bounce back when pressed with a finger.
- Patience During the Rise: Let the dough rise fully between steps for optimal results. The first rise should take 40 to 60 minutes, depending on the temperature of your kitchen. If the dough isn’t doubling in size, let it sit a little longer in a warmer area to encourage fermentation.
What to Serve with Japanese Milk Bread
- Butter and Jam: Japanese Milk Bread is incredibly soft and lightly sweet, making it a perfect match for a simple spread of creamy butter and your favorite fruit jam. The butter enhances the bread’s delicate texture, while the jam adds a fruity tang that perfectly complements its flavor.
- Egg Salad Sandwiches: The pillowy softness of this bread makes it ideal for light, creamy fillings. Try making egg salad sandwiches for a comforting, satisfying meal. The richness of the egg salad paired with the bread’s airy texture creates a delightful contrast in each bite.
- Miso Soup: For a more traditional Japanese meal, serve the bread alongside a warm bowl of miso soup. The light, savory flavor of the soup enhances the mild sweetness of the bread, creating a comforting, balanced combination perfect for breakfast or a light lunch.
FAQ
1. Can I use all-purpose flour instead of bread flour?
Bread flour is recommended for its higher protein content, which helps the dough develop the right texture. While all-purpose flour can be used in a pinch, the bread may not be as light and airy.
2. Can I make this bread without a stand mixer?
Yes! You can knead the dough by hand. It will take a little longer, but the result will be just as good. Be sure to knead the dough until it’s smooth and slightly tacky.
3. Can I freeze Japanese Milk Bread?
Absolutely! Once the bread has cooled completely, you can wrap it tightly in plastic wrap and foil and freeze for up to a month. Thaw it at room temperature and reheat for a fresh-from-the-oven experience.
4. How do I know when the bread is fully baked?
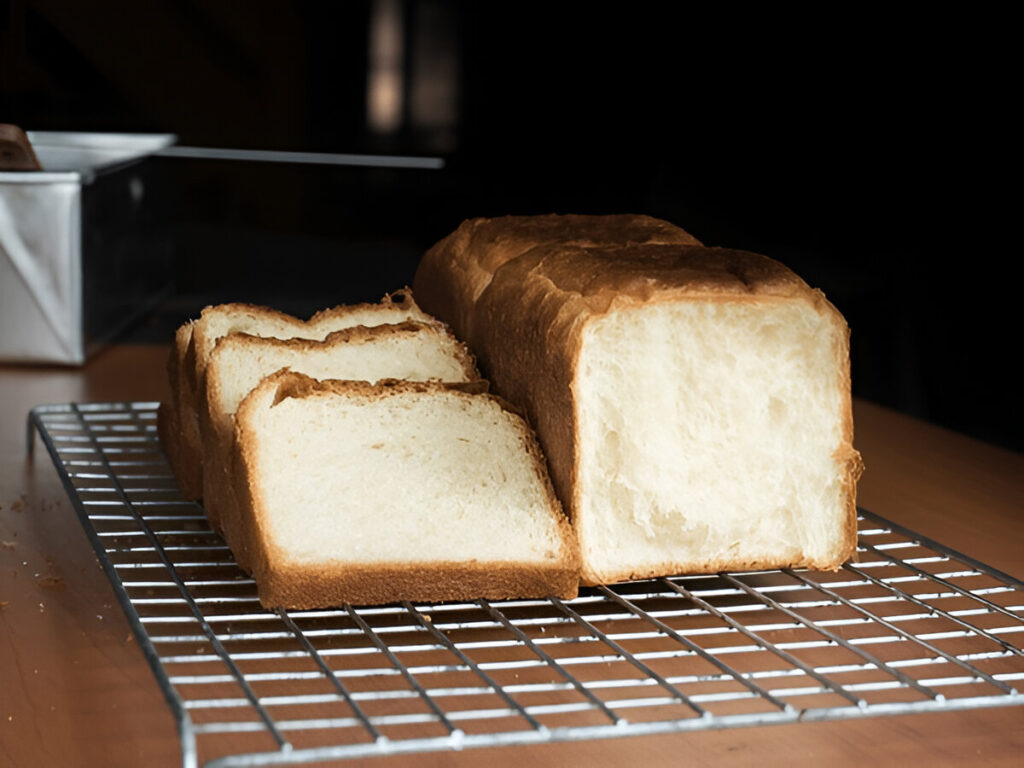
The bread should be golden brown on top, and a thermometer inserted into the center should read about 190°F (88°C). The loaf will also sound hollow when tapped on the bottom.
Japanese Milk Bread
Ingredients
Method
- Step 1: Prepare the Starter
- In a small saucepan, whisk together the bread flour, milk, and water until smooth. Over medium-low heat, cook the mixture, stirring constantly, until it thickens to a pourable consistency—this should take around 10 minutes. When done, the mixture should leave visible tracks when stirred. Remove from heat, transfer to a measuring cup, and cover the surface with plastic wrap. Allow it to cool to room temperature.
- Step 2: Combine Dry Ingredients
- In the bowl of a stand mixer, combine bread flour, sugar, yeast, and salt. Mix briefly to ensure even distribution of the ingredients.
- Step 3: Add Wet Ingredients
- Add the egg, warm milk, and half of the cooled starter to the dry ingredients. Turn the mixer on low speed and mix for about 5 minutes, allowing the dough to form.
- Step 4: Incorporate Butter
- Add the softened butter in small pieces. Continue mixing for an additional 10 to 12 minutes until the dough becomes smooth, springy, and slightly tacky, but not sticky.
- Step 5: First Rise
- Lightly butter a bowl and shape the dough into a ball. Place it in the bowl, cover with a kitchen towel, and let it rise in a warm spot for 40 to 60 minutes, or until it has doubled in size.
- Step 6: Shape the Dough
- Once the dough has risen, punch it down and transfer it to a flat surface. Divide the dough in half and shape each portion into a ball. Allow them to rest, covered, for 15 minutes.
- Step 7: Prepare the Pan
- While the dough is resting, preheat your oven to 350°F (175°C). Butter a 9-by-5-inch loaf pan generously.
- Step 8: Roll the Dough
- Using a rolling pin, gently flatten one dough ball into an oval shape about 12 inches long and 6 inches wide.
- Step 9: Shape into a Log
- Fold the top and bottom edges of the oval towards the center to form a rough square. Then, starting from one edge, roll the dough into a log, sealing the edge as you go. Place the log seam side down in the prepared loaf pan. Repeat the same process with the second dough ball, positioning it next to the first in the pan.
- Step 10: Second Rise
- Cover the loaf pan and allow the dough to rest for 30 to 40 minutes. The dough should rise until it peaks over the edge of the pan, with both logs meeting in the middle.
- Step 11: Bake the Bread
- Brush the tops of the dough logs with a little warm milk. Bake in the preheated oven for 35 to 40 minutes, or until the bread is golden brown and puffed.
- Step 12: Cool the Bread
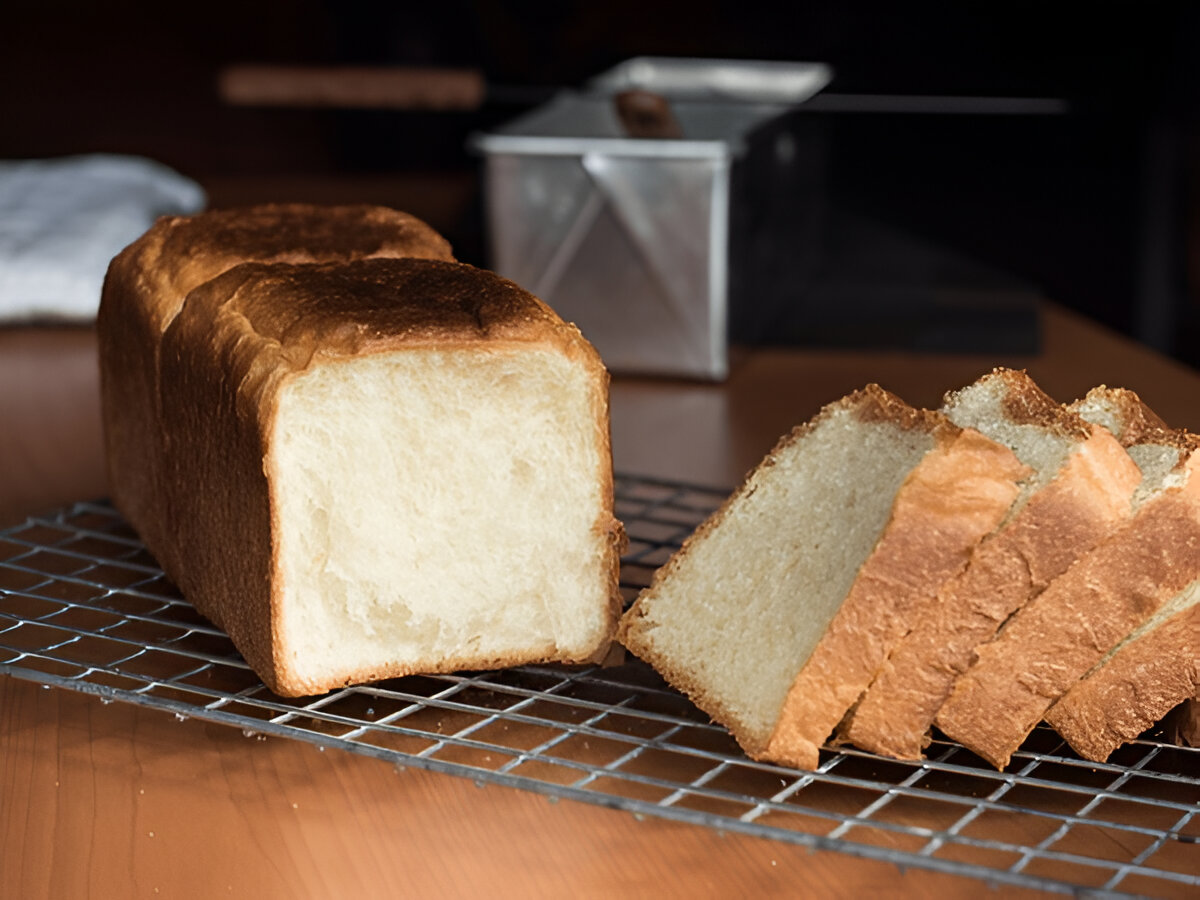
- Allow the bread to cool in the pan for 10 minutes before transferring it to a wire rack. Let it cool completely for at least an hour to prevent the crumb from deflating.

