No Knead Bread
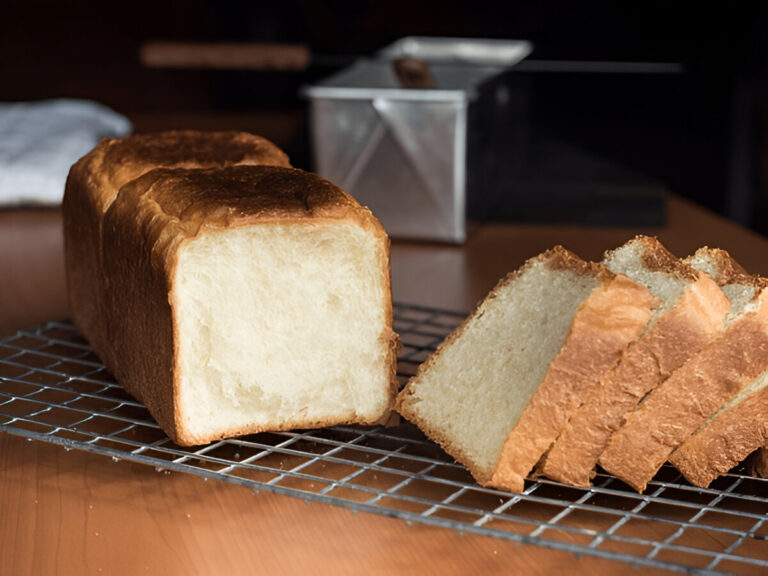
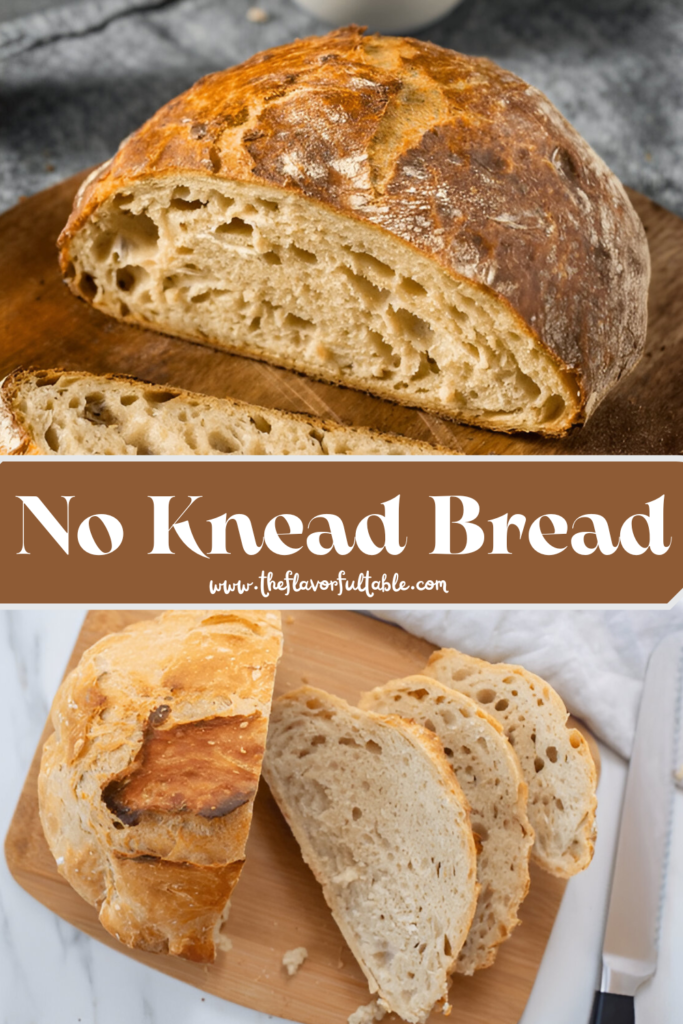
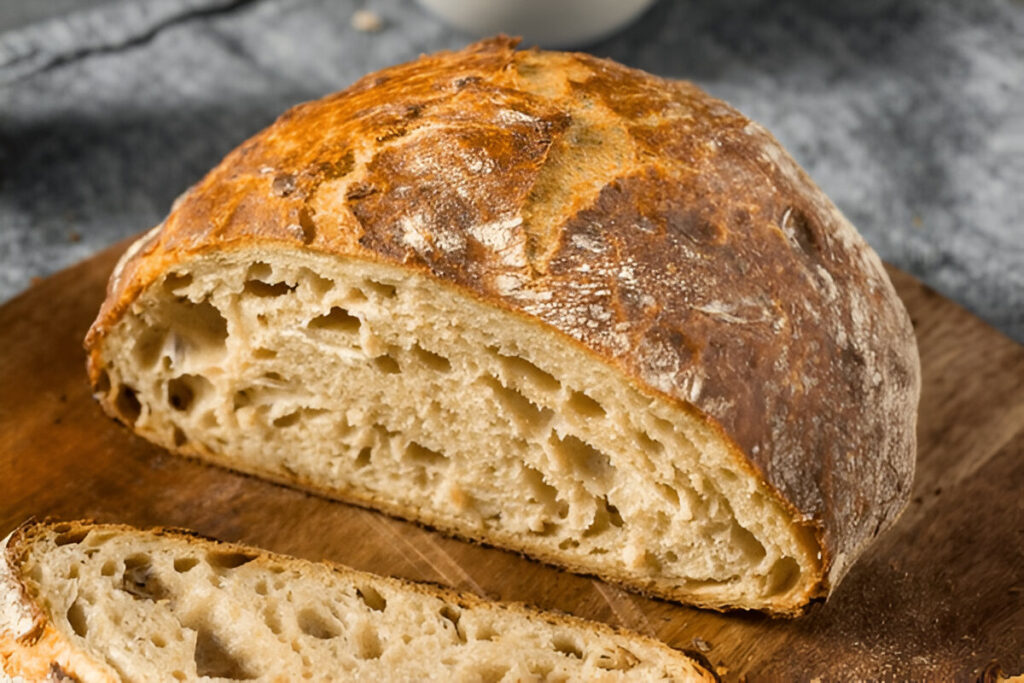
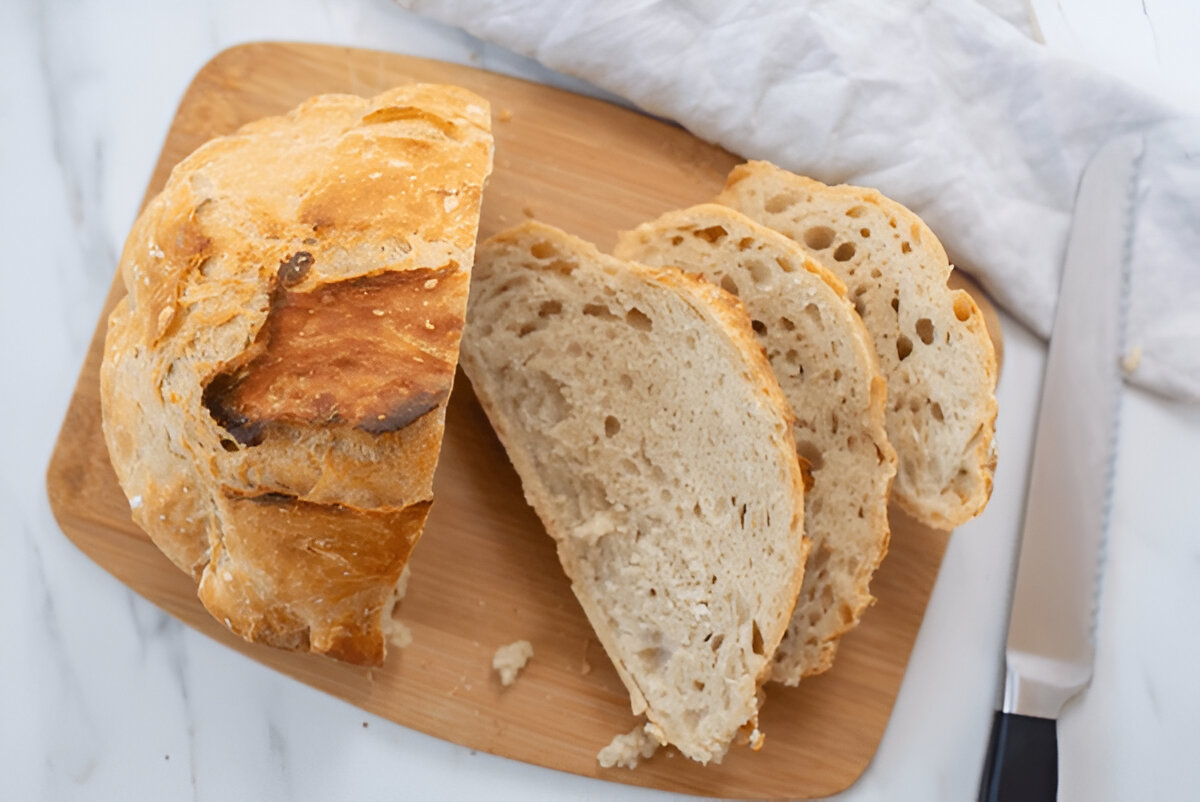
There’s something magical about freshly baked bread, and this no-knead bread recipe delivers all the charm with minimal effort. Perfectly crusty on the outside and irresistibly airy inside, it’s a triumph of simplicity and flavor.
Whether you’re pairing it with comforting soups, hearty pastas, or your favorite dips, this bread is a versatile canvas for countless meals. Its rich, golden crust and tender crumb make every bite an experience to savor.
Best of all, this recipe is as flexible as it is foolproof—use a Dutch oven for artisan results or adapt to your kitchen setup. A delicious homemade bread is just a few easy steps away!
No Knead Bread: Ingredients Section
- Yeast: The driving force behind the bread’s airy structure, activating the rise that gives this loaf its light, fluffy interior.
- Bread Flour: The foundation of this recipe, delivering the strength needed for a beautifully structured crust and tender crumb.
- Olive Oil: A touch of richness that enhances flavor while ensuring the dough stays manageable during preparation.
- Butter: The secret to achieving a golden, glossy finish and adding a hint of indulgence to the crust.
- Salt: Essential for balancing flavors and enhancing the natural nuances of the bread.
Mastering No-Knead Bread
No-knead bread is a baker’s dream—a recipe that yields a golden, crusty loaf with minimal effort. To help you perfect this artisan-style bread, we’ve included essential tips, serving ideas, and answers to your most common questions.
Recipe Tips
1. Perfect the Rise
Achieving a good rise is key to light and airy bread. Let your dough rise in a warm, draft-free space for 2–3 hours. For extra flavor, refrigerate the dough for up to three days after the initial rise—this extended fermentation deepens the taste.
2. Handle with Care
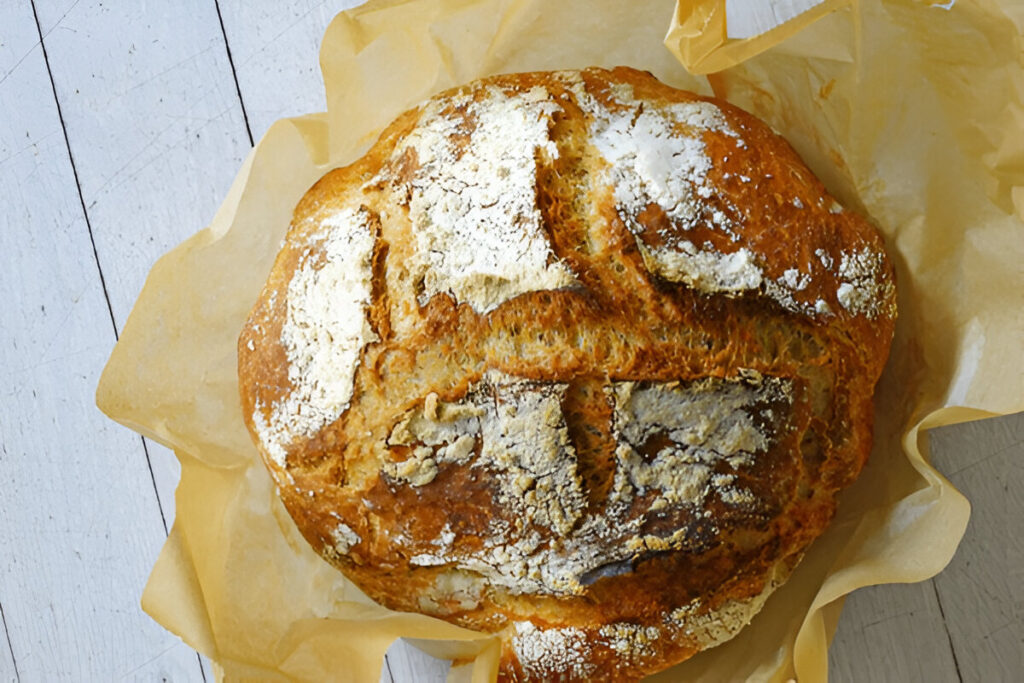
This dough is sticky by design. Use a silicone spatula instead of your hands when folding or shaping the dough. Lightly flour your parchment paper or work surface to prevent sticking while maintaining the dough’s softness.
3. Dutch Oven Tricks
Preheating your Dutch oven ensures the bread’s crust forms beautifully. If you don’t have a Dutch oven, use a baking stone with a pan of water underneath to create steam, which mimics the effect of a covered pot.

What to Serve with No-Knead Bread
1. Creamy Soups
Pair this crusty bread with a hearty soup like creamy tomato basil or loaded potato soup. The bread’s airy crumb soaks up the rich broth perfectly.
2. Classic Dips
Serve alongside dips such as garlic-infused olive oil or a tangy spinach-artichoke dip. The bread’s rustic crust and light interior provide the ideal balance for dipping.
3. Gourmet Sandwiches
Transform your loaf into artisan-style sandwiches. Think roasted vegetables, mozzarella, and pesto for a Mediterranean twist, or go classic with deli meats and sharp cheddar.
FAQ
1. Can I make this without a Dutch oven?
Yes, you can use a baking stone or sheet pan. Place a pan of water in the oven to create steam for a crispy crust.
2. How do I store leftovers?
Wrap the bread in a clean kitchen towel or store it in a paper bag at room temperature for up to two days. For longer storage, freeze slices and reheat as needed.
3. Why is my dough too sticky?
A sticky dough is normal for this recipe, but if it feels unmanageable, slightly reduce the water next time or flour your hands and work surface more generously.
4. Can I use all-purpose flour instead of bread flour?
Yes, but the texture may differ. Bread flour has higher protein content, which enhances gluten development and gives a better rise and chewy texture.
Mastering this no-knead bread is simpler than you think. Armed with these tips, serving suggestions, and answers to common concerns, you’re ready to bake like a pro!
No Knead Bread
Ingredients
Method
- If you are not using a Dutch oven, refer to specific notes for alternative methods.
- Due to its sticky nature, this dough should be managed using a silicone spatula to prevent unnecessary mess or handling complications.
- In a small mixing bowl, combine the yeast, sugar, and warm water. Cover the bowl with plastic wrap and allow the mixture to rest for five minutes until bubbles appear, indicating activation.
- In a larger mixing bowl, whisk together the bread flour and salt until evenly distributed. Gradually pour in the olive oil and the prepared yeast mixture, blending gently with a silicone spatula until all the flour is moistened and the dough becomes sticky.
- Form the dough into a rough ball. Lightly coat its surface with cooking spray, then cover the bowl with plastic wrap followed by a clean kitchen towel. Place the bowl in a warm, draft-free environment to rise for 2 to 3 hours or until the dough has doubled in size. For detailed rising techniques, consult additional notes.
- To deepen the flavor, you may refrigerate the dough for up to three days after its initial rise. While in the fridge, the dough may expand further and deflate slightly; this is normal. When ready to bake, proceed to the next steps.
- Using a silicone spatula, transfer the dough onto a lightly floured sheet of parchment paper. Fold the dough by bringing its outer edges toward the center until a more structured ball forms. Lightly spray its surface with nonstick cooking spray, cover loosely with plastic wrap, and let it rest for 45 minutes as you preheat the oven.
- Set the oven to 425°F and place the Dutch oven inside to preheat uncovered. Confirm with your Dutch oven’s manufacturer that this step is safe for your specific product.
- Carefully remove the plastic wrap from the dough. Using oven mitts, take the preheated Dutch oven out of the oven. Lift the parchment paper and gently lower both the dough and paper into the pot. Secure the lid immediately and return the Dutch oven to the oven.
- Bake for 40 minutes with the lid on. Remove the Dutch oven and use a pastry brush to evenly coat the bread with melted butter to enhance its color.
- Place the uncovered Dutch oven back into the oven and bake for an additional 10 to 12 minutes or until the crust achieves a rich, golden-brown hue.
- Once baked, let the bread cool for a minimum of five minutes before slicing to ensure optimal texture and flavor.

