Step 1: Prepare the Mushroom Filling (Optional)
To begin, place the shiitake mushrooms in a medium saucepan and cover them with cold water, ensuring the mushrooms are fully submerged. Bring the water to a gentle simmer over medium-low heat, and once small bubbles appear on the surface, remove from heat. Cover the pot and allow the mushrooms to rehydrate for approximately 30 minutes. Once tender, transfer the mushrooms to a cutting board and slice them thinly. Save the mushroom stock for another use, if desired. Combine the sliced mushrooms with the chile flakes and transfer them into a jar or sealed container. Pour in the soy sauce, mirin, and rice vinegar, ensuring the mushrooms are fully coated. Seal the container and refrigerate. The mushrooms will be ready to use after at least 2 hours, but their flavor will develop even further if allowed to sit for a few days. They will keep for up to 6 months in the fridge.
Step 2: Prepare the Rice
Rinse the sushi rice under cold water, scrubbing the grains with your fingers to remove excess starch. Drain and repeat this process until the water runs clear or just slightly cloudy. Transfer the rinsed rice to a medium saucepan, adding 1¾ cups (420 milliliters) of water. Stir gently to evenly distribute the rice, then allow it to soak for 15-30 minutes to help the rice cook more uniformly.
Step 3: Cook the Rice
Bring the rice and water to a boil over high heat, stirring occasionally. Once it begins to boil, cover the saucepan and reduce the heat to low or medium-low. You want a simmering heat where you can hear the rice gently bubbling, with some steam escaping from under the lid. Set a timer for 15 minutes and allow the rice to cook undisturbed. Do not lift the lid during this time to preserve moisture.
Step 4: Finish Cooking the Rice
After 15 minutes, turn off the heat and gently fluff the rice using chopsticks or a fork. Keep the lid on and let the rice sit for an additional 5-10 minutes to finish cooking using residual heat. Transfer the rice to a baking sheet and let it cool slightly.
Step 5: Prepare the Miso Glaze (Optional)
While the rice is cooking, prepare the miso glaze (if using). In a small bowl, whisk together the miso paste, sesame oil, mirin, sugar, sake (or water), and rice vinegar until smooth, ensuring the sugar has dissolved completely.
Step 6: Shape the Onigiri
Once the rice has cooled enough to handle, lightly oil a baking sheet to prevent sticking. Fill a small bowl with water to keep your hands damp, which will help prevent the rice from sticking to your fingers. Begin shaping the onigiri:
If using an onigiri mold, press ⅓ cup of rice into the bottom of the mold, create an indentation in the center, and fill it with about 2 teaspoons of the mushroom filling. Top with another ⅓ cup of rice, pressing down firmly with the top piece of the mold. Carefully transfer the formed onigiri to the prepared baking sheet.
If shaping by hand, grab a large handful of rice and compress it into a ball. Press the sides to form a triangular shape or flatten it into a patty. You can also form rounded rice balls, if preferred. If stuffing with filling, place a small amount (1-3 teaspoons) of chopped mushrooms in the center, folding the rice around it to create a seal.
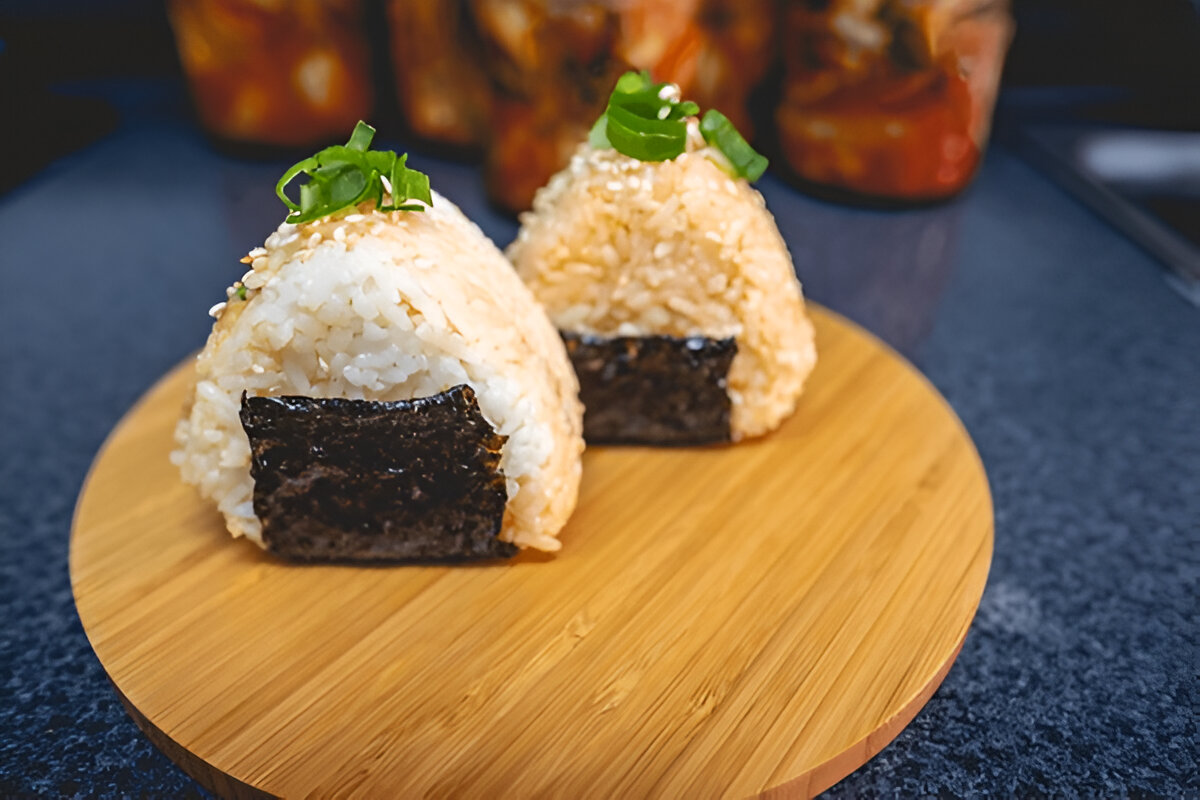
Step 7: Garnish and Serve
Once the onigiri are shaped, garnish them with sesame seeds and wrap them with small rectangles of nori, if desired. Serve immediately, or refrigerate and serve at room temperature within a day.
Step 8: Grill the Onigiri (Yaki Onigiri)
For a grilled version, brush the top of the onigiri with the miso glaze. Place the rice balls in an oven and broil them until the glaze forms a golden crust, about 5 minutes. Flip the onigiri, brush the other side with the glaze, and broil for an additional 5 minutes until both sides are golden and crispy.